A chair with a simple removable seat board can be a manageable project. A chair with an upholstered back, springs, buttons or complex stitching needs a different assessment. Start with the construction before buying fabric and tools.
The guide here is about defining the work and planning a single seat. It is not a universal recipe for all chairs. If you have doubts about the frame or construction, you can get help with chair reupholstery.
Assess the chair before you dismantle it
Take photos from all sides and from underneath. Check whether the seat can actually be removed without loosening the chair's load-bearing joints. Also check whether the wood is cracked and whether the seat board is intact around the fastenings.
Stop if the chair is unstable, or if you cannot see what a screw or fitting holds together. A new cover does not make a damaged frame secure. On a valuable or special piece of furniture, the choice of method should be clarified before original details are removed.
A single loose seat: a sensible approach
- Document fabric grain, corners and attachment points.
- Remove the seat and store the fittings together, clearly labelled.
- Remove the cover carefully so it can serve as a reference.
- Examine the board, substrate, and filling before covering.
- Test the new fabric’s direction and placement before making the final cuts.
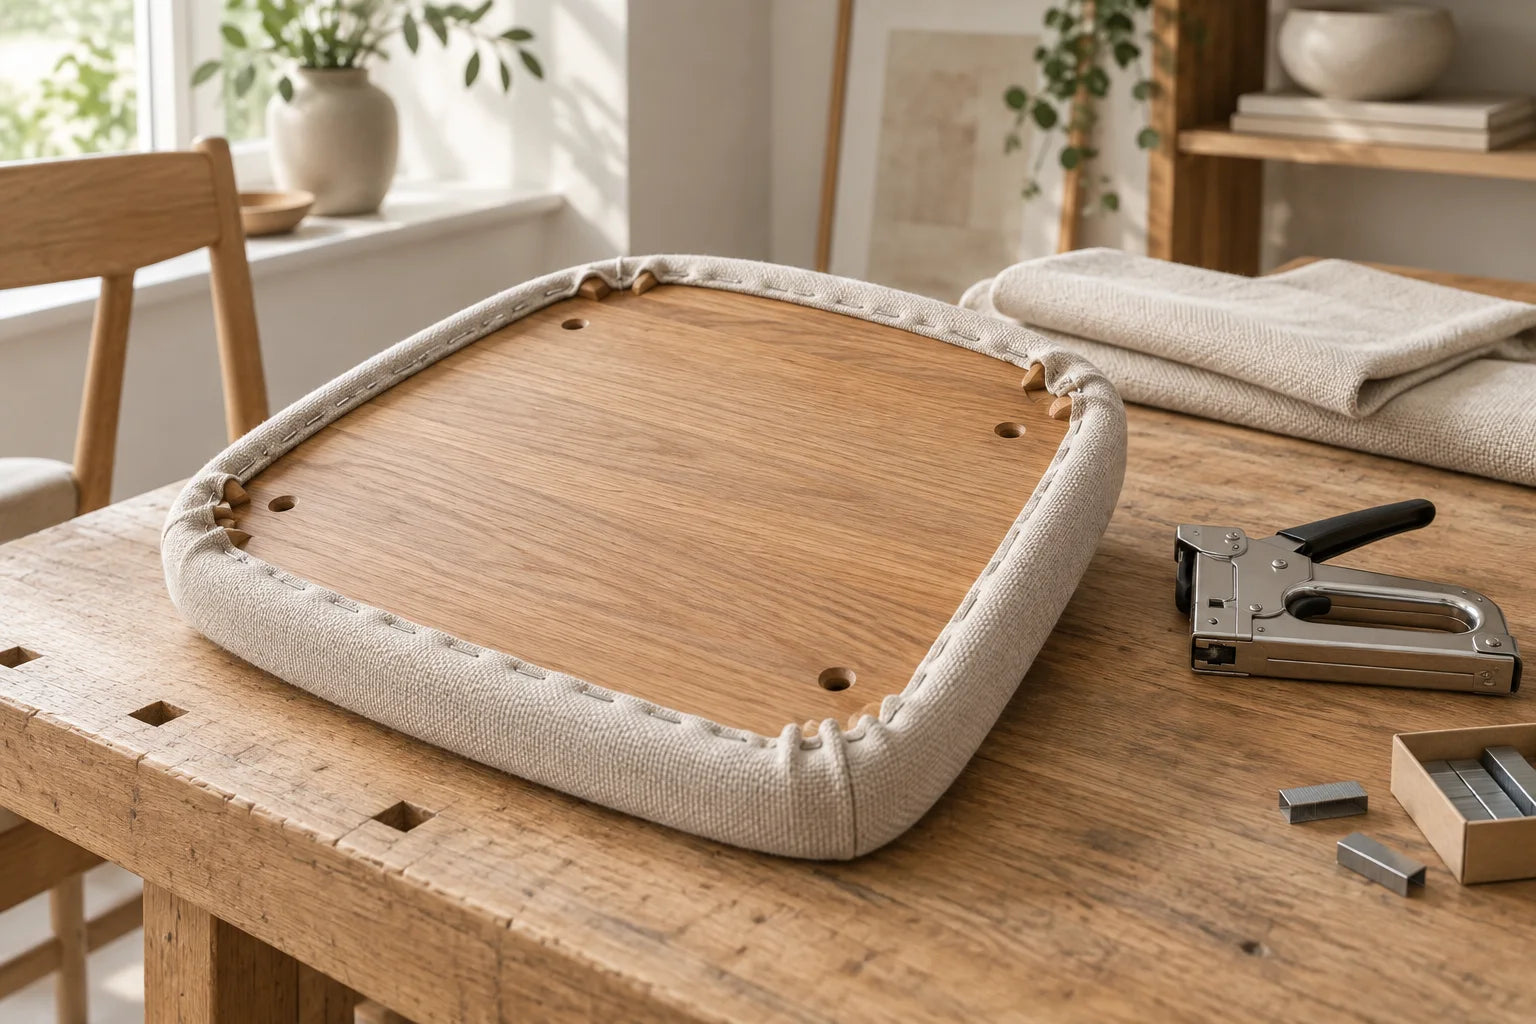
- Attach evenly and gradually on opposite sides, and check the top surface continuously.
- Finish the corners, mount the seat correctly, and check stability.
Use suitable tools according to their instructions and keep fingers away from stapling and cutting. Fastenings must not pass through the board into the seating surface. No single staple length suits every seat.
Use the old cover as a reference, not a definitive answer
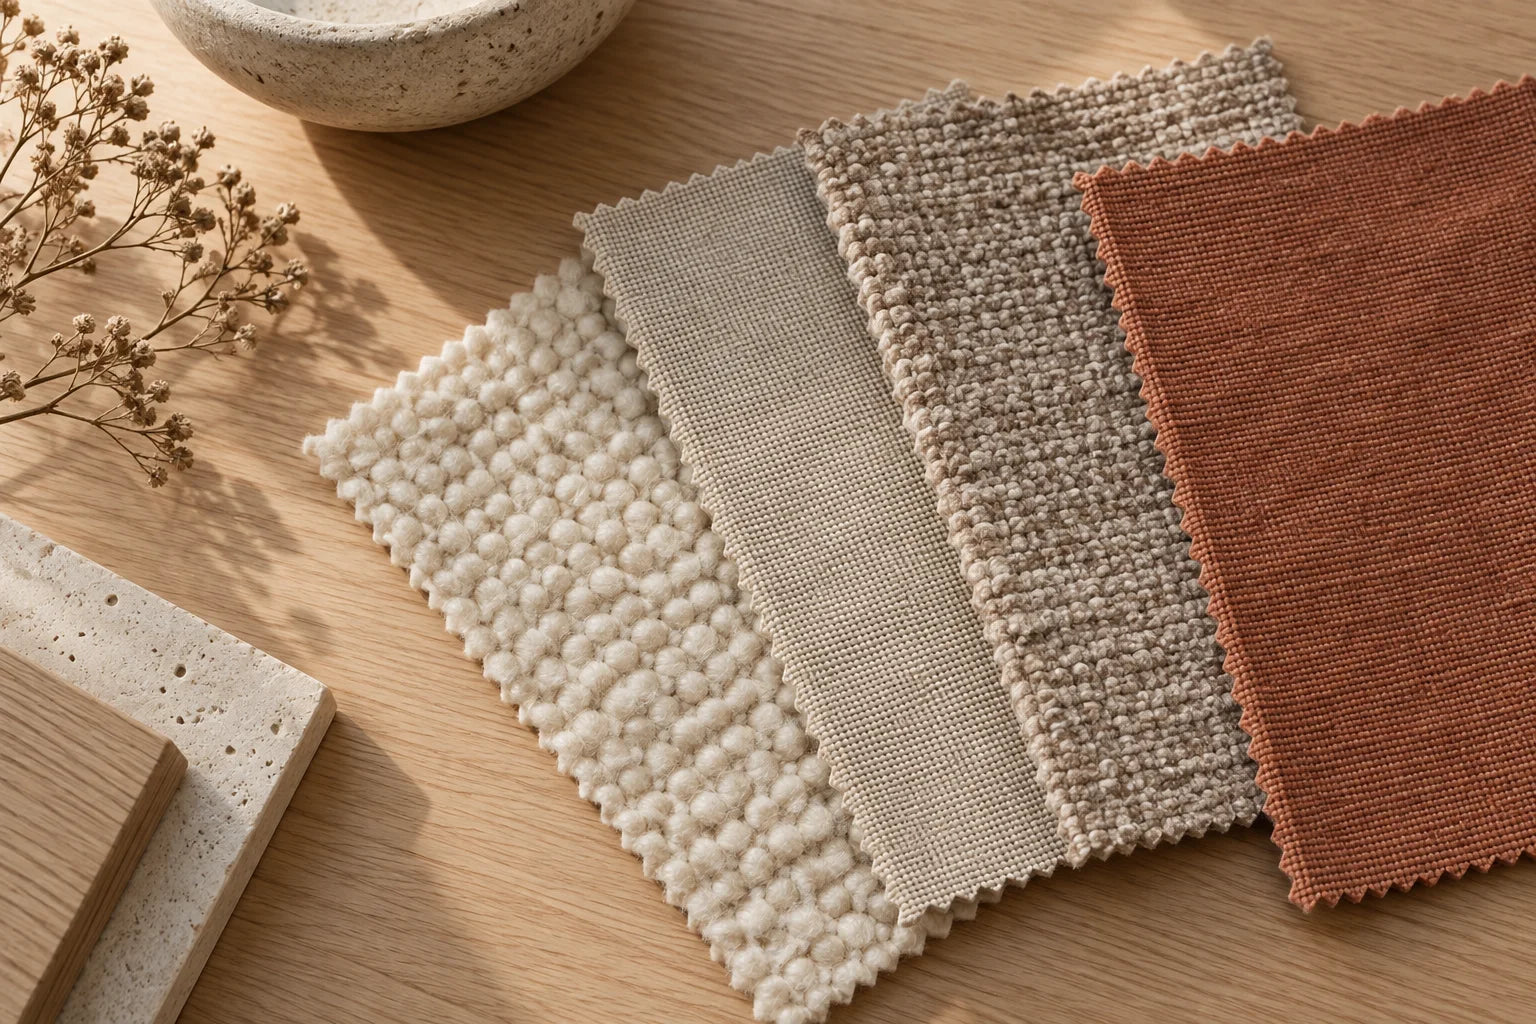
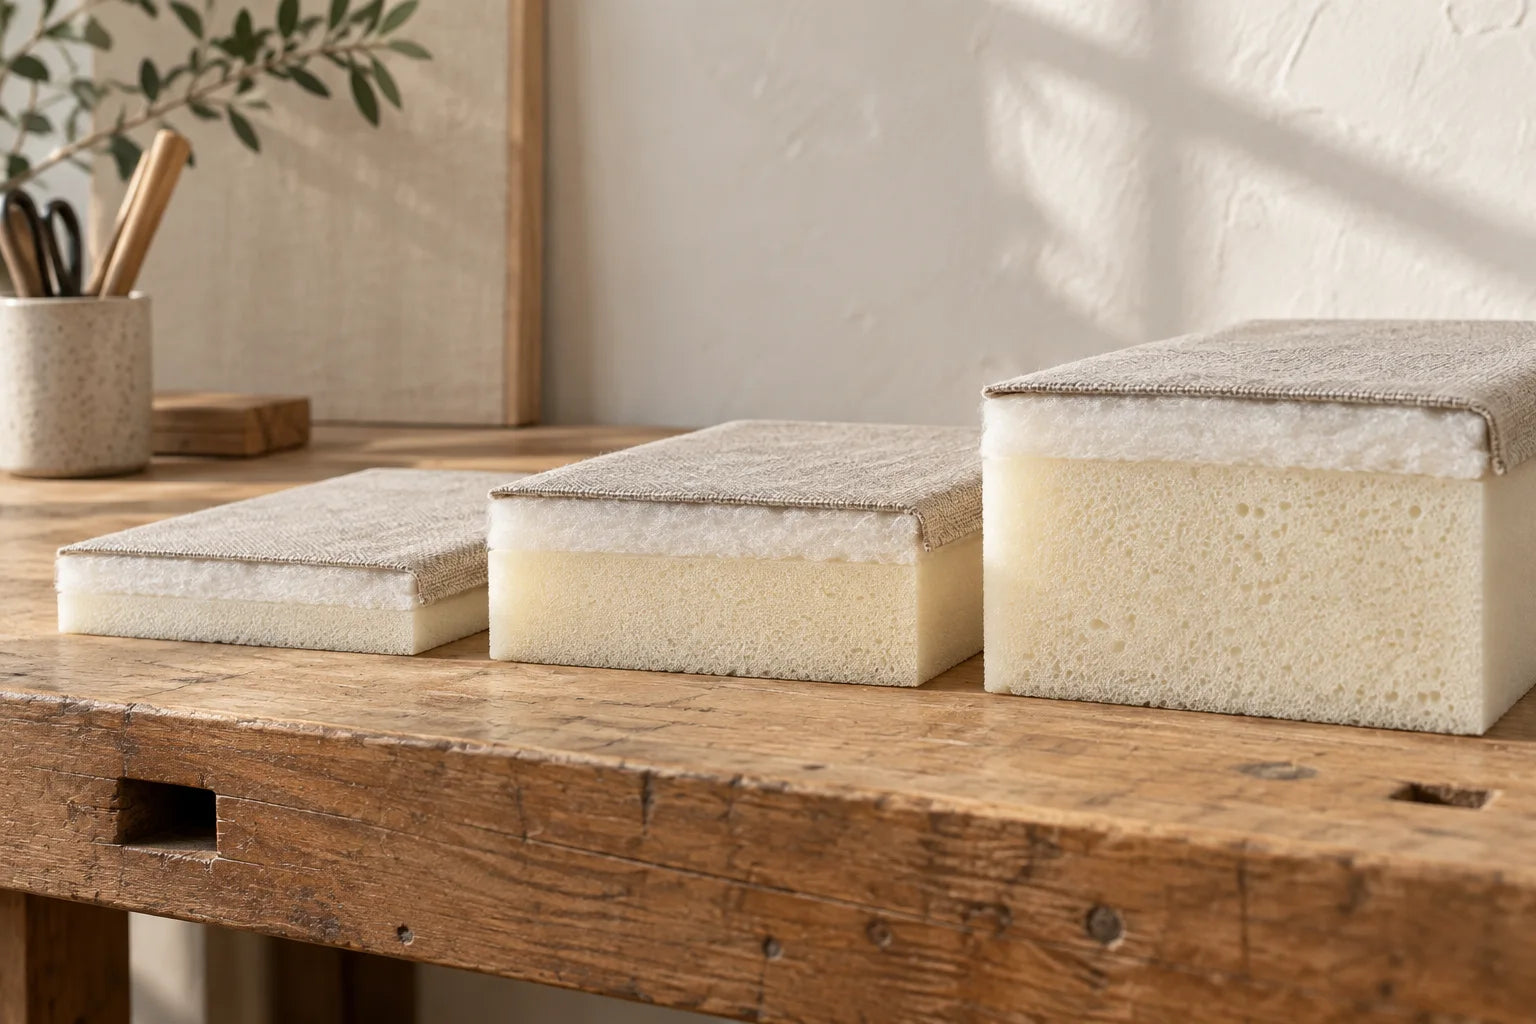
The old fabric may be stretched, shrunk or already mounted incorrectly. Compare it with the seat's shape and the new construction. A thicker filling requires that the material can reach further around the edge.
Cut only once placement and the necessary turn-under allowance are established. Stripes and checks make misalignment obvious. A plain upholstery fabric intended for chairs is often easier to plan as the first project.
Do not just replace the visibly damaged part
Crumbled filling and an uneven surface should be assessed before the new upholstery is stretched on. Conversely, there is no reason to automatically alter a well-functioning assembly. Read about foam for furniture upholstery, if you are unsure what you are dealing with.
Also calculate space and time for the chair to be separated. Start with one chair rather than separating the whole set. Then you can assess fit, corners and comfort before repeating the method on the rest.